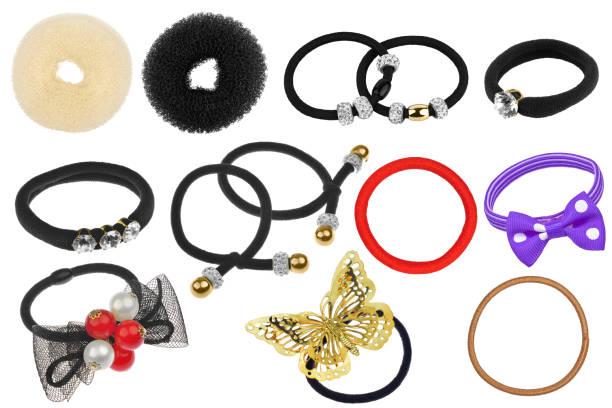
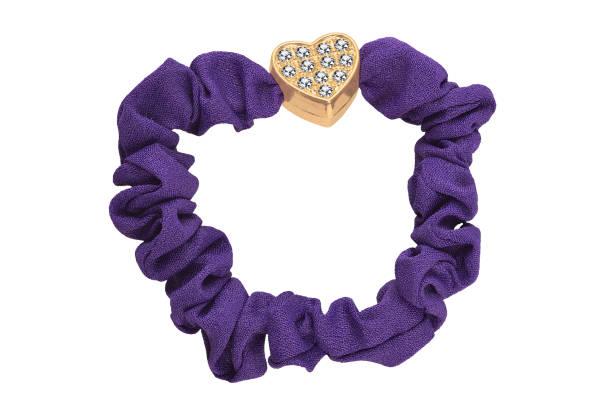
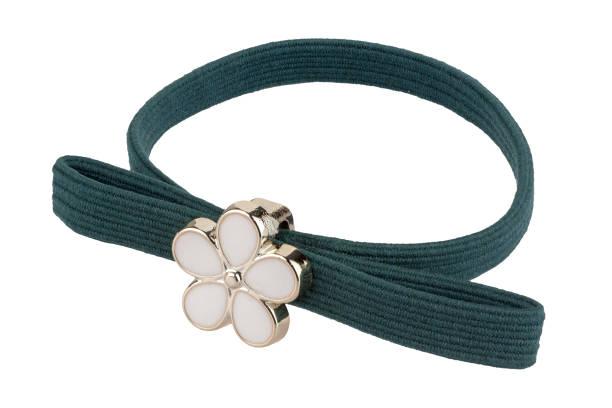
Are you ready to combine fashion, function, and fun into a single accessory? Learning how to make a hair tie bracelet is an easy, creative way to add flair to your wardrobe while keeping practicality at the forefront. Whether you’re looking for a stylish accessory that doubles as a hair tie or aiming to give a unique handmade gift, this project offers an ideal blend of versatility and charm. Not only is it a fantastic craft idea, but it also lets you tap into your creative spirit—without breaking the bank.

Let’s jump in and learn how to create your very own hair tie bracelet!
What Does Hair Tie Bracelet Mean?
A hair tie bracelet isn’t just an ordinary bracelet—it’s a multifunctional accessory that cleverly doubles as a fashionable wristband and a handy hair tie holder. Think about it: how often do you wrap a plain hair tie around your wrist, only for it to dig into your skin or ruin the look of your carefully chosen outfit? Hair tie bracelets solve this common problem by providing a stylish solution.
These accessories allow you to have a hair tie at the ready without compromising your look. They come in various materials, from simple elastics to beautifully adorned metals or fabric designs. The beauty of crafting your own is the freedom to customize it exactly the way you want, ensuring that it suits your personal style while offering functionality.

What You Need to Start Making Hair Tie Bracelets
Before we begin crafting, let’s take a quick look at the essential tools and materials you’ll need to make your own hair tie bracelet. Most of these items are easy to find, either online or at your local craft store, and you might already have some of them lying around at home!
1. Hair Ties
The heart of your bracelet! Opt for elastics that are durable, yet gentle on your hair. You can choose from a variety of colors and thicknesses. Neutrals, pastels, bold colors, or even printed elastics all work depending on the style you want.
2. Beads and Charms
Adding beads and charms can instantly elevate the look of your bracelet. Pick from metal beads for a more sophisticated look, or go with colorful plastic or glass beads for a fun, playful style. Charms that dangle or beads that add a touch of shine are perfect to give your bracelet a unique vibe.
3. Scissors
A sharp pair of scissors is essential for cutting your hair ties to size or trimming excess elastic. Make sure they’re sharp enough to avoid fraying the elastic.
4. Crimp Beads or Clasps
To secure the bracelet and make it easier to wear, crimp beads or clasps are a great addition. These are particularly useful if you want the bracelet to look polished and professional, with a clear fastening point.
5. Jewelry Pliers
You’ll need a small set of jewelry pliers to help close crimp beads or attach clasps. These are inexpensive and will make your bracelet look neat and well-finished.
6. Glue (Optional)
If you want to add extra security to your knots or clasps, a dab of clear craft glue can help make your bracelet more durable. This step is optional, but it’s always good to have some glue on hand.
Now that we’ve gathered our materials, let’s get into the exciting part—crafting your hair tie bracelet!
Step-by-Step Guide to Crafting Your Hair Tie Bracelet
Now comes the fun part! Follow this step-by-step guide to craft your own unique and stylish hair tie bracelet:
Step 1: Measure the Elastic
First, decide how many times you want the bracelet to wrap around your wrist. Most people prefer two to three loops. Take your hair tie (or cut an elastic band to size) and wrap it around your wrist to find the perfect length. Make sure it fits snugly but comfortably.
Step 2: Cut the Elastic
Once you’ve measured the length, cut the elastic with your scissors, leaving a little extra room for tying knots or securing beads. Remember, it’s always better to have more elastic than less, as you can trim it later.
Step 3: Add Beads and Charms
Here’s where you can really let your creativity shine! Start by threading beads onto the elastic, alternating colors or textures to create a design that matches your personal style. For a minimalist look, you might want to add just a few metallic beads. For a more playful or bold design, mix and match colorful beads, pearls, and charms.
Step 4: Secure the Ends
Once you’re happy with your design, it’s time to secure the ends of your bracelet. You have two main options:
Knot the Elastic: If you’re keeping things simple, tying a tight knot at both ends will work just fine. Make sure the knot is secure, but not so tight that it damages the elastic. You can also double-knot for extra durability.
Use Crimp Beads or Clasps: If you’re going for a more polished look, thread the ends through crimp beads and use jewelry pliers to clamp them closed. Attach a clasp for easy wearability. Don’t forget to trim off any excess elastic to keep your bracelet looking neat.
Step 5: Test the Fit
Before finalizing, slip the bracelet over your wrist to ensure it fits comfortably. If it’s too tight or loose, now is the time to make adjustments. Once you’re satisfied, you can call it complete or add extra embellishments.
Step 6: Finish with Glue (Optional)
For added durability, you can apply a small drop of clear glue to the knot or crimp bead. This will help ensure the bracelet holds up well over time, especially if you plan on using it as both a bracelet and a hair tie.
Voila! You’ve just made your first hair tie bracelet. But wait—there’s more you can do to customize these to your heart’s content. Let’s explore some advanced ideas.

Creative Ideas for Customizing Your Hair Tie Bracelets
Here are some advanced ideas and inspirational tips to keep you motivated and inspired:
1. Layering Multiple Bracelets
Why make just one when you can stack several? Layering multiple hair tie bracelets can create a boho-chic look. You can mix different colors, textures, and bead sizes to make each bracelet stand out, or stick to a theme with subtle variations in the design.
2. Mix Different Types of Elastic
You can also experiment with various types of elastic—some come with a velvety texture, while others might have glitter or shimmer. Mixing different types of elastics adds an interesting visual element to your bracelets.
3. Personalization
Want to give your hair tie bracelets as gifts? Personalize them by adding alphabet beads to spell out names, initials, or positive affirmations. This thoughtful touch adds a sentimental value, making it the perfect handmade gift for friends or family.
4. Seasonal Themes
Keep your accessory game fresh by creating seasonal or holiday-themed hair tie bracelets. For example, use pastel colors and floral charms in spring, or rich, warm tones with leaf charms for fall. The possibilities are endless, and it’s a fun way to celebrate different occasions throughout the year.
5. Try Different Knotting Techniques
For those ready to take things up a notch, experiment with different knotting techniques. Macrame knots, for example, can add a sophisticated, intricate look to your hair tie bracelet. There are plenty of online tutorials that can guide you through advanced knotting techniques if you’re eager to learn more.
6. Incorporate Fabric Scraps
For a more textured bracelet, consider weaving in thin fabric strips along with the elastic. Old scarves, lace, or ribbon can bring a soft, romantic feel to the bracelet, giving it an artisanal flair.
Conclusion
Making a hair tie bracelet is more than just a DIY project; it’s a way to express your personal style while combining fashion and function. Whether you’re looking to create something for yourself or crafting a thoughtful handmade gift, the process is simple, fun, and budget-friendly. By learning how to make a hair tie bracelet, you’ll not only have a practical accessory always at hand, but you’ll also have a custom piece that stands out. So, grab your materials, follow the steps, and start creating your own collection of chic, multi-use bracelets today!
FAQs
What are the best materials for making hair tie bracelets?
Elastic bands, soft stretch fabric, and durable nylon are ideal materials for making hair tie bracelets. These materials provide flexibility, comfort, and strength while being gentle on hair, reducing breakage.
How can I make my hair tie bracelet stand out?
Add beads, charms, or fabric wraps for a unique design. Personalizing with vibrant colors, patterns, or tying decorative knots can also make your hair tie bracelet stand out.
Are there any quick fixes for a broken hair tie bracelet?
For a quick fix, tie a simple knot at the broken ends. You can also use a small piece of fabric or decorative ribbon to hide the knot and secure it firmly.
