
6 Feb 2026
Post by Callie
Introduction
A fully operational screen is essential for your Acer Aspire laptop to function correctly. If you encounter a cracked or otherwise malfunctioning screen, the task of replacing it yourself may initially appear daunting. However, with the right guidance, a screen replacement is entirely achievable. This guide steps you through the process and ensures your laptop’s display is restored to full functionality.
Preparing for the Replacement
Before attempting the replacement, careful preparation is crucial. This stage involves evaluating whether a screen replacement is needed, obtaining the right tools, and observing safety protocols.
Identifying Screen Issues
Screen problems can appear in various forms, from visible cracks to pixel or color issues. To effectively address the specific problems, confirm the following:
- Check for any physical damage such as cracks or lines.
- Rule out software issues by updating graphics drivers.
- Identify persistent flickering or incorrect color displays as signs of hardware issues.
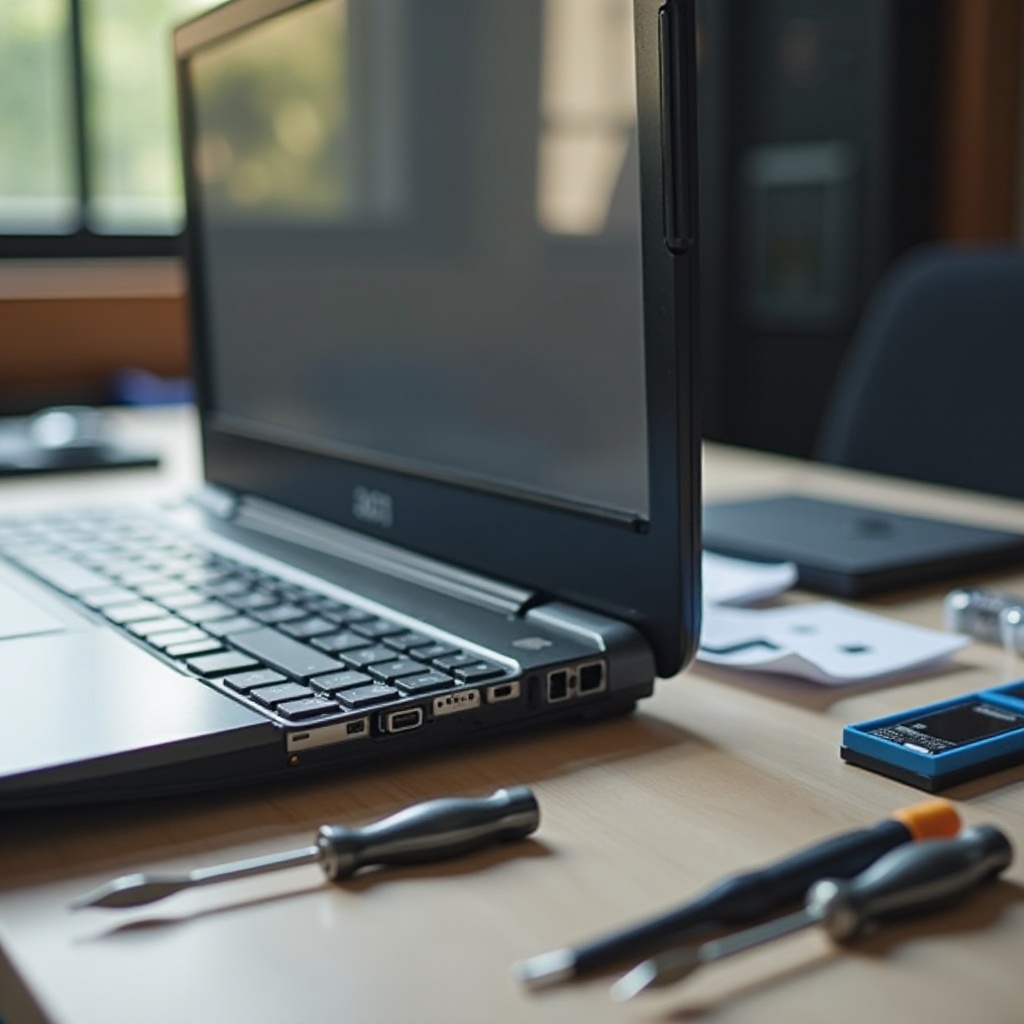
Gathering Necessary Tools and Parts
Ensuring you have all needed tools and parts will streamline the repair process. Obtain the following:
- Tools Required: A precision screwdriver set, plastic pry tools, and an anti-static wristband.
- Replacement Screen: Verify compatibility with your specific Acer Aspire model by checking the model number to ensure a proper fit.
Ensuring Safety Precautions
Taking appropriate safety measures prevents injury and further damage:
- Unplug your laptop and remove its battery to eliminate electrical risks.
- Wear an anti-static wrist strap to avoid static electricity damage.
- Arrange a clean and stable work surface to avoid losing small components.
Having prepared sufficiently, you are now ready to proceed with the screen replacement. Let’s begin the process.

Step-by-Step Screen Replacement Process
Follow these detailed steps to replace the screen of your Acer Aspire laptop effectively and safely.
Powering Down and Removing the Battery
- Completely shut down your Acer Aspire laptop.
- Detach the power cord and any connected peripherals.
- Safely remove the laptop battery to prevent any power running through the device.
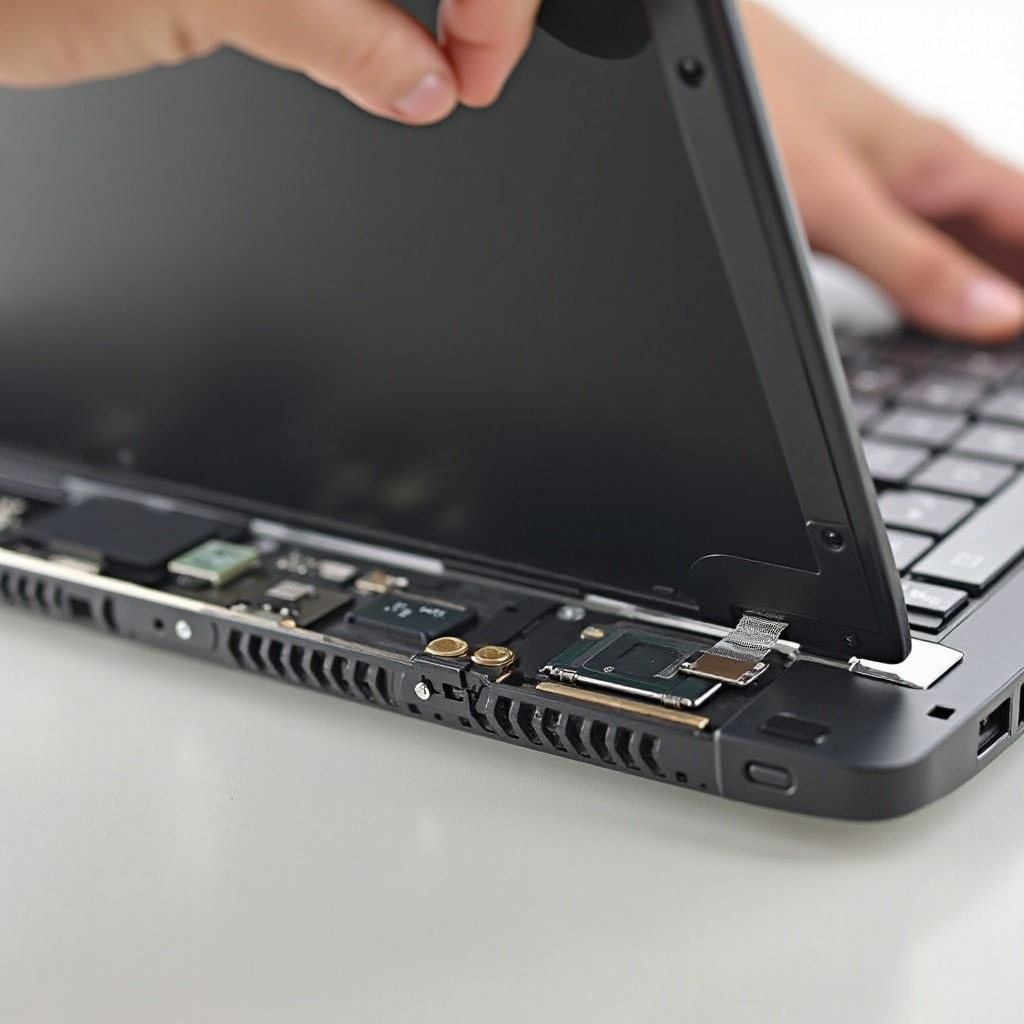
Detaching the Bezel and Removing the Damaged Screen
- Carefully use the plastic dull edge tool to separate the bezel from the screen without snapping the clips.
- After removing the bezel, locate the screws securing the screen and carefully unscrew them.
- Gently tilt the screen forward, revealing the connected cables.
Installing the New Screen
- Disconnect the old screen by removing the connecting ribbon from its port.
- Align the new screen, ensuring that the connection points line up correctly.
- Secure the new screen by fastening the screws in their respective slots.
Reassembling the Laptop
- Snap the bezel back into place, confirming that all clips engage properly.
- Reattach the battery and any external devices you previously removed.
- Power-on the device to verify the installation has been successful.
With everything reassembled, it’s crucial to test your newly installed screen to ensure it’s operating correctly before resuming normal use.
Testing Your New Screen
Starting your laptop post-replacement should be a moment of relief. To ensure everything functions as expected, do the following tests:
- Power on your Acer Aspire and observe for any abnormalities like flickering or dead pixels.
- Open graphics-heavy applications to verify color accuracy and screen clarity.
- Adjust the brightness settings to ensure consistent lighting across the screen.
If the screen works well, congratulations are in order. You have successfully replaced your screen. Should issues arise, the following troubleshooting steps will help identify and resolve them.
Troubleshooting Common Issues
If post-replacement you encounter any issues, use these troubleshooting techniques to identify and fix typical problems quickly.
Resolving Display Problems
- Reconnect Cables: If flickering or off colors occur, recheck the ribbon cable’s connection to ensure it’s correctly attached.
- Screen Compatibility: Confirm that the replacement screen is the correct model for your laptop by cross-referencing model numbers.
Verifying Connections
If problems continue, focus on these additional connection verifications:
- Double-check all internal and bezel connections for secure attachment.
- Ensure that no cables are crimped or compromised during the process.
With these steps completed, your screen should be functionally restored, allowing for seamless engagement with your device. In our concluding section, we’ll summarize the core steps and furnish additional tips for maintaining your repaired laptop.
Conclusion
Tackling an Acer Aspire screen replacement yourself is a rewarding endeavor that enhances your technical skillset and cost-saving measures. This practical guide has empowered you to restore your laptop’s screen to full functionality. With your newly repaired screen, your laptop is back to being a reliable tool ready for productive tasks.
Maintain vigilance with future maintenance, and consider exploring other DIY repairs to continue enhancing your technical proficiency.
Frequently Asked Questions
How much does it cost to replace an Acer Aspire laptop screen?
The cost typically ranges from $50 to $150, depending on the model and screen type, with DIY replacement significantly cutting down on labor costs.
Can I replace my Acer Aspire screen without professional help?
Yes, equipped with the right set of tools and this guide, a DIY screen replacement is achievable for those servicing their devices.
How can I ensure the replacement screen is compatible with my Acer Aspire model?
Make sure to verify your laptop’s model number, often found under the battery or on the frame, against the replacement screen’s specifications.